Sunday, November 20, 2011

My Big Pre-Christmas Sale!

It starts NOW! My biggest sale of the year! Just in time for gift shopping! And you don't have to get up early and battle the traffic! You can even shop in your PJ's and no one will know! Place an order by email (heatherjanedesign@gmail.com) or phone from now to midnight on Cyber Monday (Nov 28th 2011). Now lets get to the great deals! Drum roll, please?

Spend $25: Choose any item $3.95 or less for FREE (Example: Embellishments!)
IF the $25 you spend is on stamp sets you can ALSO receive for only $5 the D-size stamp set called "Holiday Wishes". This stamp set has great images for Christmas AND it coordinates with the Art Philosophy Cricut Cartridge! As an EXTRA BONUS with this promotion I will provide 3 contour cut card stock pieces of each shape.


Spend $50: Choose any item $5.25 or less for FREE (Example: Ink Pads!)


 In addition you will qualify for the November Stamp of the Month, "Cherish the Day", for $5. IF $25 of what you spend is on stamp sets you can ALSO receive "Holiday Wishes" for $5.


Spend $75: Choose any item $6.95 or less for FREE (Example: Size A stamp sets, ribbons...)


AND the November Stamp of the Month, "Cherish the Day", for $5. PLUS, IF $25 of what you spend is on stamp sets you can ALSO receive "Holiday Wishes" for $5.


Spend $100 OR purchase the Art Philosophy Cartridge:

Choose any item $9.95 or less for FREE (Example: Size B stamp sets, Level 2 Paper Packets, 12x12 quick pic albums, Micro-Tip Scissors...)


AND the November Stamp of the Month, "Cherish the Day", for $5. IF $25 of what you spend is on stamp sets you can ALSO receive "Holiday Wishes" for $5.


Spend $150: Choose $35.00 worth of product for FREE (Example: Alphabet stamp sets, Heat Gun, Organizers, How To Programs, Faux Leather Albums...)


ALSO receive "Holiday Wishes" for $5. AND the November Stamp of the Month, "Cherish the Day", for $5.


 Details:
- Orders must be emailed or called in to me. (leave a message if I cannot answer) Do not enter your own order online, email or call instead.
- Main order may ship separately from your Sale prizes

View the online catalog HERE.
Browse my website HERE.


Happy Birthday Baby!

I have waited till the last day to post this card because my good friend from High School is expecting her third and is now overdue... I was thinking the baby might have been here before my entry into the Mojo Monday Sketch Challenge was due, but it has not worked out that way. So Kate, if you are reading this, no need to act surprised when you see it in person later. :)

 
I created this card as a "Happy Birthday Baby Girl" card.


I created the layout based upon the Mojo Monday Sketch Challenge 215. I added buttons because I wanted to play along in the Random Fun Moxie Fab Challenge. There is still time if you want to play along too, the Random Fun items are due Dec 12th.


Recipe:
X7131B Sophia Paper Pack (CTMH) (Contour cut the green leaves to place under the buttons)
Z2166 Tulip Ink (CTMH) (Sponge on the edges of papers)
Z1370 Pink Button Pack (CTMH)
Stamp Set is one from the "Art Philosophy" Cricut Cartridge Set
Pretty in Pink Taffeta Ribbon (Stampin' UP)


Saturday, November 12, 2011

Card: Metal Accents

Metal accents and embellishments give a special card or scrapbook page extra pizazz! I often hoard my collection waiting for the perfect excuse to use them. When I came across some recent card making challenges it was time to dust my metal stash off! About the same time I heard of a family member that had surgery and was staying in the hospital. Thus, my creation is a "Get Well" card. Take a look and let me know what you think!


I created the design layout of my card based on the sketch from the Mojo Monday Challenge number 214. I was inspired to add metal through the suggestion of the Metal Mania Challenge from Heart 2 Heart.


This is the Card I created!


For the Flower embellishment I cut two different sized flowers on my Cricut with the Art Philosophy Cartridge. One was cut in sold Hollyhock card stock and the other in Daisy White card stock. I added ink color to the larger white one by dragging my stamp pad across it, which also created a textured look. I did the same in green for the leaves, the large circle accent, and the chipboard banner shape. I added a flower embossed large metal brad as the center of the flower.


I also used Metal in the hinge accent on the top of the chipboard banner. The hinge sandwiches the chipboard in its grip. The holes lined up just right for me to add small brads to hold it together. These items seemed destined to work together as their measurements lined up exactly as I wanted them to!

List of items used: (All items used are CTMH unless noted otherwise)

- 1385: White Card Stock as card base and shapes
- Z1686: Art Philosophy Cricut Bundle (shapes, chipboard, and coordinating stamps)
- Z2114: Ink: Cocoa
- Z2118: Ink: Desert Sand
- Z2128: Ink: HollyHock
- Paper: You and Me Kit (Retired)
- Z1243: Metal Embellishments: Pewter Mini-Medley
- Get Well Stamp: Unknown Brand ?


Tuesday, November 1, 2011

Multi- Photo Layout

Ever find yourself with a pile of photos you LOVE and want to fit into one layout? I went in search of some inspiration and I found a great scrapbooking layout sketch on the Heart 2 Heart Blog, Scrapbooking Challenge. This sketch lets you fit in multiple photos without looking too cluttered or jumbled, plus there is still room for a title and journaling. This is the sketch that was created by Cheryl.


I created my interpretation of this sketch with my Dreamin' Workshop Kit. I had a series of photos of my son just waiting for the right pages. This was a perfect fit. I used the blue papers from the kit to create a monochromatic color scheme. Instead of scallops I used the border strips, and I added then to the inside side of the columns also. I used Colonial White as a base and Pacifica Blue card stock on the columns. I added the top title "Steer Arrival" with the Pennant Alphabet set. The 2nd heading, "Farm Boy", was created with the Friendship Alphabet set. I used the library card stamp from the set "Limited Edition" to add some journaling.


 Let me know what you think!

I will be teaching this layout with my scrapbooking workshop with the Dreamin' Kit on Nov. 19th!


Monday, October 31, 2011

Stamp of the Month! "Cherish the Day!"

Welcome to our Stamp of the Month Blog Hop!  This month, we are featuring the November Stamp Of the Month, which is called Cherish The Day. This is one of my favorite! 

If you have come here from Annette's Blog, you are on the right path! The blog hop is a great big circle, so you can start here and work your way all around. If you get lost along the way, you’ll find the complete list of participating consultants here.

This month, we have over 50 Close To My Heart Consultants sharing their creations using this special stamp set and other great CTMH products on their blogs. This is simple to do - just click on the link at the end of the post on each blog to move to the next one! Here we go!

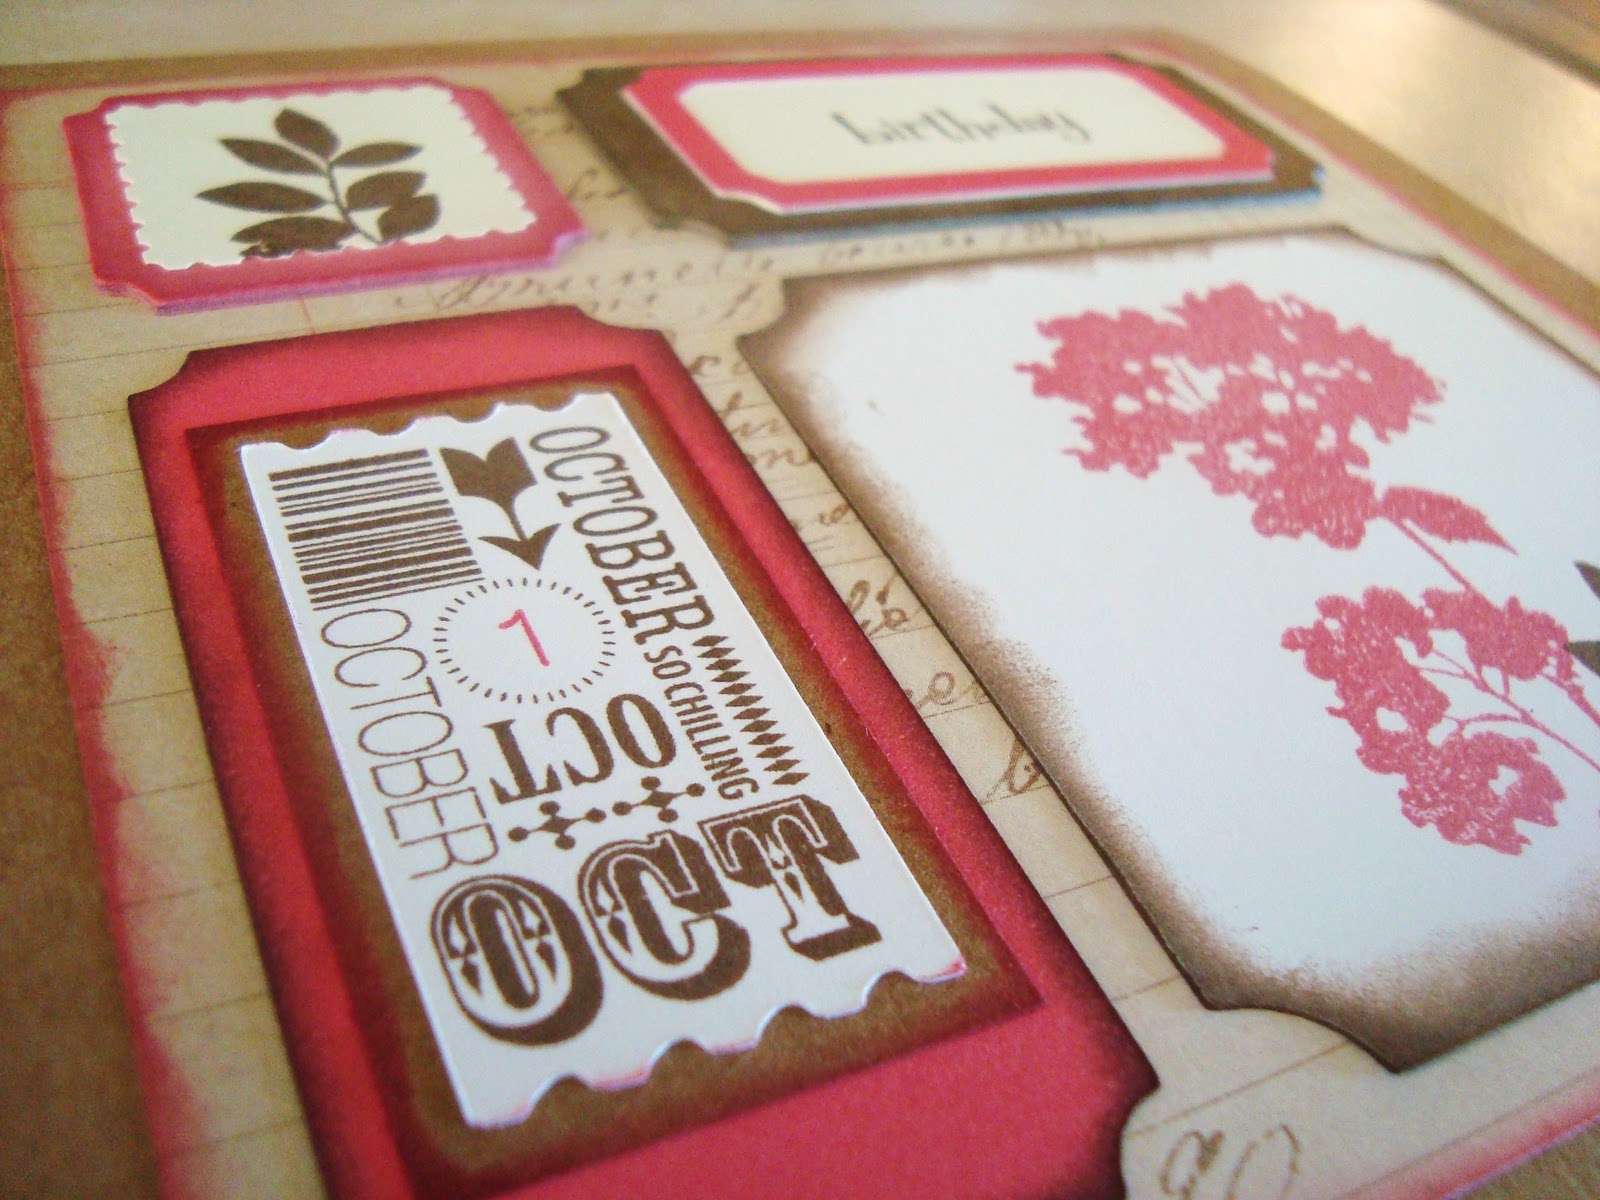
This is my creation. I made a birthday card that I was able to personalize with the month and date of my friend's special day!


I am also working on a Halloween Scrapbook page that I will post soon. (So check back) I also plan to use this stamp set in my Valentines. I am also keeping it in mind to create a Wedding card for the next Wedding we are invited to.

This is a very exciting stamp set to have in your collection because it is so versatile and can be used to personalize your handmade items. I love that you can customize the date to one that is special to a card recipient. You can own it also, but it is only available during the month of November. Click here to order yours from me!

Now hop on over to Alissa's Blog to see what she created with the same stamp set!

Happy Halloween!

I LOVE the Halloween Season! Not because of the evil (muwahahhaha), but more so the creativity that abounds! (and the candy is a plus!) Hehehe.

Halloween costumes are so much fun! They are even more fun when my work has a costume contest, complete with great prizes! I have placed high enough to earn prizes in the past. (an 8 months pregnant "Juno" when I was pregnant with my son, a Bubble Bath, and an Angel/Devil). This year I wanted to be a bit funny and go with something that reflected on an event of this year that many would recognize, and those who did not would be talking... :)

Does anyone remember the Royal Wedding? (ha!) There was a certain Royal Cousin (Princess Beatrice) in attendance with a VERY attention demanding hat upon her head. It made HEADlines! I was able to recreate her hat. Her hat cost more them $130K, mine was about $5 with some felt, hot glue, floral ring, and foam. Here they are side by side.


The hat DOES defy gravity, I will give it that. But I'm not sure that the trend of dressing head to toe in skin color is a good idea for anyone. I do not recommend it. One might be mistaken for being naked when seen from afar.


Let me know what you think! Happy Trick-or-treating! (insert Royal wave here)

Tuesday, October 25, 2011

Craft Show Booth Improvements

It craft show season! I have myself booked at a few shows this year and each time I set up and take down I think of ideas to make it easier and quicker for the next show. I wanted to share my learning adventure with you so that you can take some of these ideas to apply to yourself if you like. It is all a matter of figuring out what works best for you.


This is me at my booth at my most recent craft show. I used two 6 foot folding tables and put them in an L-shape. (My favorite table is from Staples, it folds in half, has wheels to roll on, AND is lite!) The L-shape gives the crowd room to come up to see my items, but not get trapped in traffic, which happened when I used to set up in a U-shape. My booth buddy, Sara, found purple tableclothes at the dollar store and we used those as a base. Then we covered it with a few purple cloth table clothes that my mom and I had made for my wedding reception and then saved. (Can you guess what my favorite color is?)


To add height to the display I have a few white storage cubes from Micahels. (I was sure to purchase each with a 40% off coupon or comparable sale, because they can be on the pricey side). I store my items inside the drawers as I finish them and then when I get to my show I open the drawers at varied depths to display the items. I love the cubes so much! I originally purchased them as a storage solution for my craft room, but the room is not ready yet, so I use them at my shows for now.


This was the first time I displayed magnets, they are my newest item. For this show I used a display I already had at home, which was my antique milk jug from our family farm. For future shows my idea is to find metal trays that fit in my cube drawers. This will allow me to place the magnets on the tray and slide them into the drawers for transport. Then when I get to the show I just take out the tray and display it. With the current milk jug scenario each magnet is placed on the jug at the show and then taken off when we head home. They trays inside the cube would save me a lot of time if I continue to carry this item.


This white shelf is a wall hanging cabinet that is sold in the bathroom decor area at walmart and target. I use it at my shows upside down because the top of it makes a sturdy base. This is perfect for featured items and small display items. I have a drawer-less cube behind this and it faced me when I stood behind the booth. This gave me organized access to my bags, knuckle buster, receipt books, pens, and such.


In the middle of the display was our card feature. This time we went with purple bins. The bins allowed the customers to flip through the available cards in different categories. We had a bargain bin, Christmas, multipack sets, and miscellaneous. We used tiny clear easels to display a card from each category. We set these on white squares to give them some height as they sat behind the bins.


We used the flat space at one end of a table to set up our hand decorated picture frames. We also used Sara's Christmas Tree to display hand made ornaments.

I would love to hear from you what ideas you saw here that you like best? Also, what other solutions do you use for your craft show display that will save space and time?