Showing posts with label Workshop on the go kit. Show all posts

Friday, March 6, 2015

Chalk It Up! Scrapbook Layout #3!


This is the third Chalk It Up scrapbook layout that we will create if you are able to attend the March Workshop Club! I had a lot of fun with this one! (I'm going to keep having fun with it too because I plan to make a bunch of these to have on hand to sell at my next Vendor show which is in April!)
 
 
A little stamping and some layering reminds us of an important message. "Life IS good". Stamp in Lagoon Ink onto Lagoon cardstock. Clean and dry your stamp then stamp again in the NEW Flaxen Ink onto White cardstock. Trim and layer, then embellish!
 
 
I could not WAIT to use this sentiment! It is something I say to myself as I flip through my stacks of printed photos! Therefore it is perfect for my scrapbooking, one of those photos that makes me stop and stare a moment when I flip through will go here.
 
 
Another stamping and trimming and layering accent! Love the final look! Place the trimmed and layered piece off center a bit to create a drop shadow effect!


A little sorbet on the eraser of this pencil stamp + some flaxen for the wooden part + a little journaling pen = the cutest little "this rocks" pencil!
 
Won't this layout be cute for school pictures you need to scrap!? Maybe you are scrapping your own childhood or that of your smallest family members?
 
Happy Crafting!
 
HeatherJane


Monday, July 21, 2014

Ariana Scrapbook Workshop On The Go and Complements

I held an Ariana Scrapbook Workshop at my house yesterday! It was so much fun! We got 4 different 2 page layouts finished using the Ariana Workshop On The Go Kit. Here is what we worked on.


Layout #1 was scrap-lifted (with permission) from my friend Casandra Bennett! I changed it just a little to use the Ariana Complements. Casandra does amazing artwork! You must follow her blog. scrappinbliss, to see what she makes. She has won many blog challenges and artwork mentions out there in the blog-o-sphere. Thank you Casandra for inspiring me and letting me use your beautiful design in my class and for my daughters 6th birthday!


We used the Marquee Alphabet to create the "Celebrate" title! Tip: When stamping your letters don't forget you need THREE "E"s! :)


Layout #2 is pretty and blue! I used pattern #06 from Make It From Your Heart Volume 1.


Added some stamping with the sentiments from the kit's exclusive stamp set and a Dimensional Element journal piece. Oh, and some cute epoxy bubbles!


Layout #3 also uses Make It From Your Heart Volume 1, but is pattern #03. This was a fun one! I changed it a little by tilting the photo mats on the RH page.


I loved this stamp from the kit! I scattered some epoxy bubbles near it using the tip to think of triangles when placing sparkles.


Layout #4 is pattern #05 from MIFYH V1. A quick and easy pattern to work with! Just use your squares to measure spacing when placing on your base.


I made my camera lense look "glassy" using my liquid glass! Just make sure you let it dry overnight! I love how the black epoxy bubbles look against the dark Ariana Grey Cardstock!

What do you think of my Ariana layouts? What pages did you make with your papers?

Monday, May 19, 2014

Ivy Lane, Layout #3


Ivy Lane scrapbook layout #4!


I found sketch inspiration from Let's Scrap. They have a few fun sketch challenges posted in honor of National Scrapbooking Day! (NSD 2014) This is sketch 5-3-14. When I created my layout I mirrored this sketch to make my 2nd page. It worked beautifully for this kit.


The sketch suggested a pennant shape... The Ivy Lane Scrapbooking kit just so happened to have exactly that! (I LOVE when things fall into place!)


The extra zip strip sentiments were perfect for my layout!


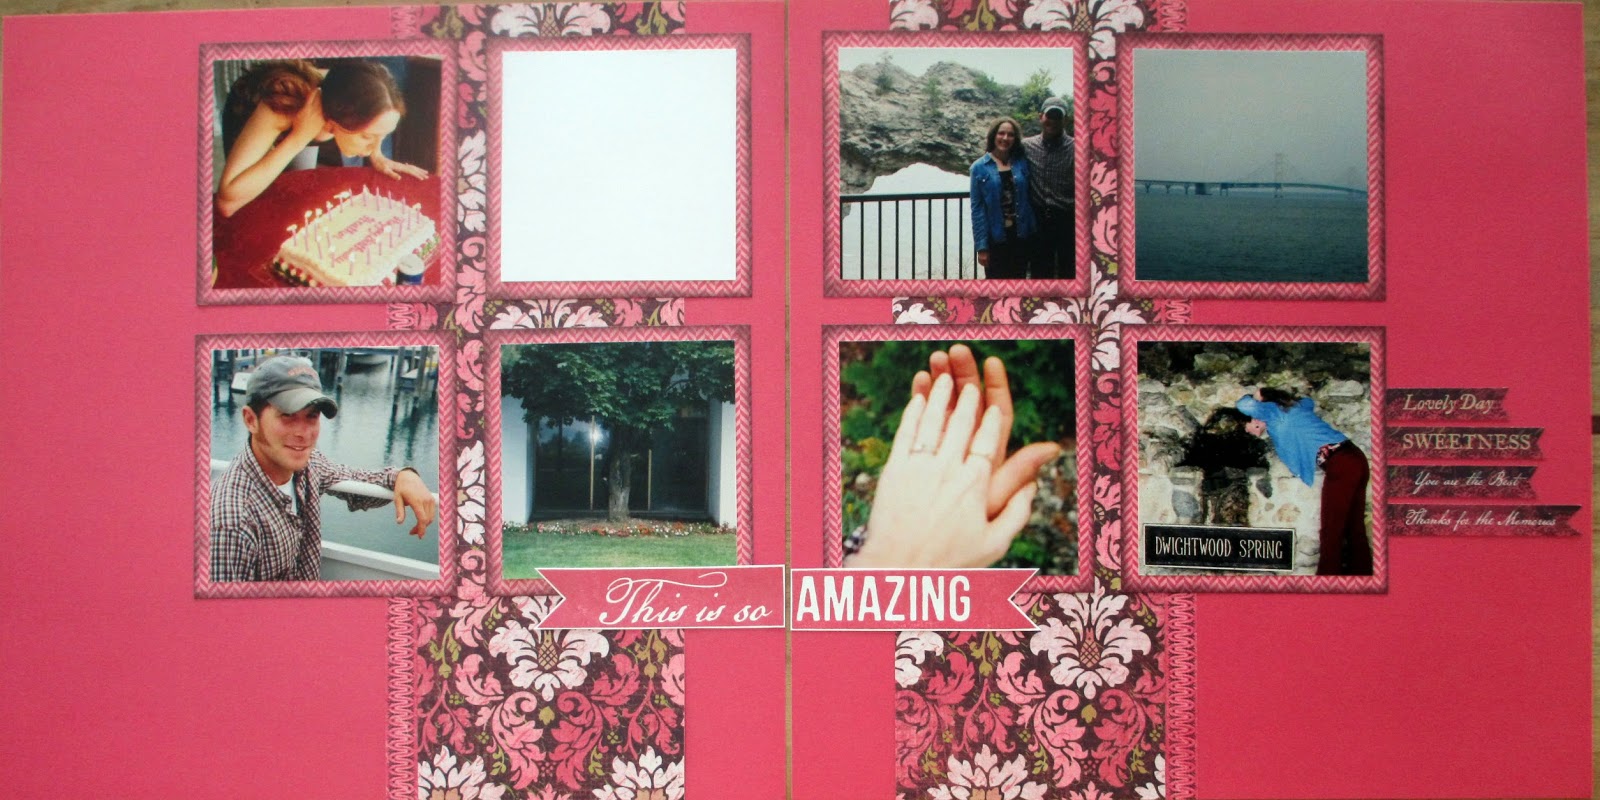
I used this layout to document the day my Husband asked me to Marry him! Do you have a page in your Wedding Album telling the story of your proposal?

Wednesday, April 23, 2014

Balloon Ride, Layout #1

The next Workshop On The Go Kit on my desk is Balloon Ride! I have a hostess doing a class with this kit in May. Can't wait!


Layout #1 that we will create is based on the suggested layout and sketch plans that come in the kit.


I decided to use my layout for photos from my Sister In Law's Wedding day, where my little girl was a flower girl!


If you were to use this layout what photos would you put in it?

Saturday, March 22, 2014

Timberline Layout, Explore Your World


The Timberline fun continues with my third layout made using the Workshop On The Go Kit!


"Explore Your World" is a great title for many different layout themes. I decided to apply it to my newborn son and his first days home with us.


The March 2014 Stamp Of The Month had the above sentiment, and it was perfect for my newborn theme. I put a family photo just above it with an arrow from the stickease set.


Hope you can join us for the upcoming workshop!

Happy Scrapping! HeatherJane

Tuesday, February 18, 2014

Cozy and Cuddly in Skylark Layout #4


The new paper kit, Skylark, turned Cozy and Cuddly when I added these photos of my newborn!

Label was fussy cut from one of the patterned papers.
This January has been one of the coldest and snowiest in recent winter memory. Its been a great time to be home and snuggling with my baby boy. I took his newborn photos on his cuddly soft blanket. I'm going to submit this layout to the "Cozy and Cuddly" scrapbook challenge at Heart 2 Heart.

Skylark Dimensional Elements
When I saw the coordinating Dimensional Elements for Skylark- This sentiment was perfect, and I had to get my hands on it! "Because of YOU half the time I don't even know I'm smiling".

Title Accent
I used a couple more Dimensional Elements for a title accent. I layered the wooden looking pennant shape with stamped letters to read "newborn".

This layout is going to be Layout #4 at my Skylark Scrapbooking Class. It will look great for photos of baby boys, Weddings, Spring, Easter, ect...

Supplies Used: (CTMH)
Skylark workshop on the go kit
Skylark Dimensional Elements
Skylark workshop stamp set (heart)
Stamp Set: True To Life C1575
Stamp Set: Keyboard Uppercase Alphabet B1416
Ribbon Ties: Mini Chevron Ribbon in Topiary Z1929

Sunday, September 8, 2013

Laughing Lola Scrapbook Layouts!

"Laughing Lola" from Close To My Heart was such a fun Workshop On The Go kit to create with! I taught a class in August with it and wanted to share my designs on my blog so that they can be found by those who are browsing for ideas.

Lola Layout #1: From pamphlet with some changes to measurements

Lola Layout #2: Using Artbooking Cricut to cut frame and titles.
 

Lola Layout #3: Full of Fun!

Lola Layout #4: Sequins add from the Black Metallic Medley
What have you been making with your Laughing Lola Papers!?

HeatherJane

Friday, April 5, 2013

Buzz and Bumble: Layout #3


This is the third scrapbook layout that I created with my "Buzz and Bumble" Workshop On The Go Kit from Close To My Heart!


I LOVE this yellow honeycomb paper!


I thought this large black sparkle flourish would go really well the feel of these papers and mimic the energy of Bees! (If you attend my classes we used these on our For Always pages also!)


"Friends" Wax seal embellishment from the Buzz and Bumble Assortment.

Hope you like the pages! Join me for class on the 19th and I will show you how to make this!

HeatherJane

Saturday, March 30, 2013

Buzz and Bumble: Scrapbook Layout #1

It's Spring! Snow is melting! What better way to embrace this excitement then to unveil my latest pages made with the "Buzz and Bumble" Workshop On The Go Kit from Close To My Heart!


I LOVE this kit! The natural colors, earth tones, and pops of yellow and orange scream to me! I also happen to be a sucker for bees and honeycombs! This layout design (sketch) is the one featured on the kit. I don't ALWAYS follow them, but THIS one I fell in love with. The layout is also in the "Make It From Your Heart- Volume One" pattern book. If you follow my classes we used this layout with our Dakota kit!


I love this embellishment and handmade accent cluster! Gems, hand-stamped and colored flowers, Seed packet, and faux wax seal! "Bee Yourself" is a great sentiment!


Another embellishment cluster! The tiny wooden flower shapes that come with the accessory pack in this kit are adorable! The gems fit nicely in the centers of them to add extra details! If you are taking this class with me in April be ready to stamp and hand-trim! :)


Paper cluster made from various patterns and pennant sizes!

Hope you like this layout! If you LOVE it make sure you join us for class on FRIDAY April 19th! I will show you how! Contact me if you need more details!

HeatherJane

Monday, March 18, 2013

Later Sk8R Layout #4

The "Later Sk8R" Workshop on the Go Kit from Close To My Heart is so much fun to work with I had to make a 4th 2 page layout with it!


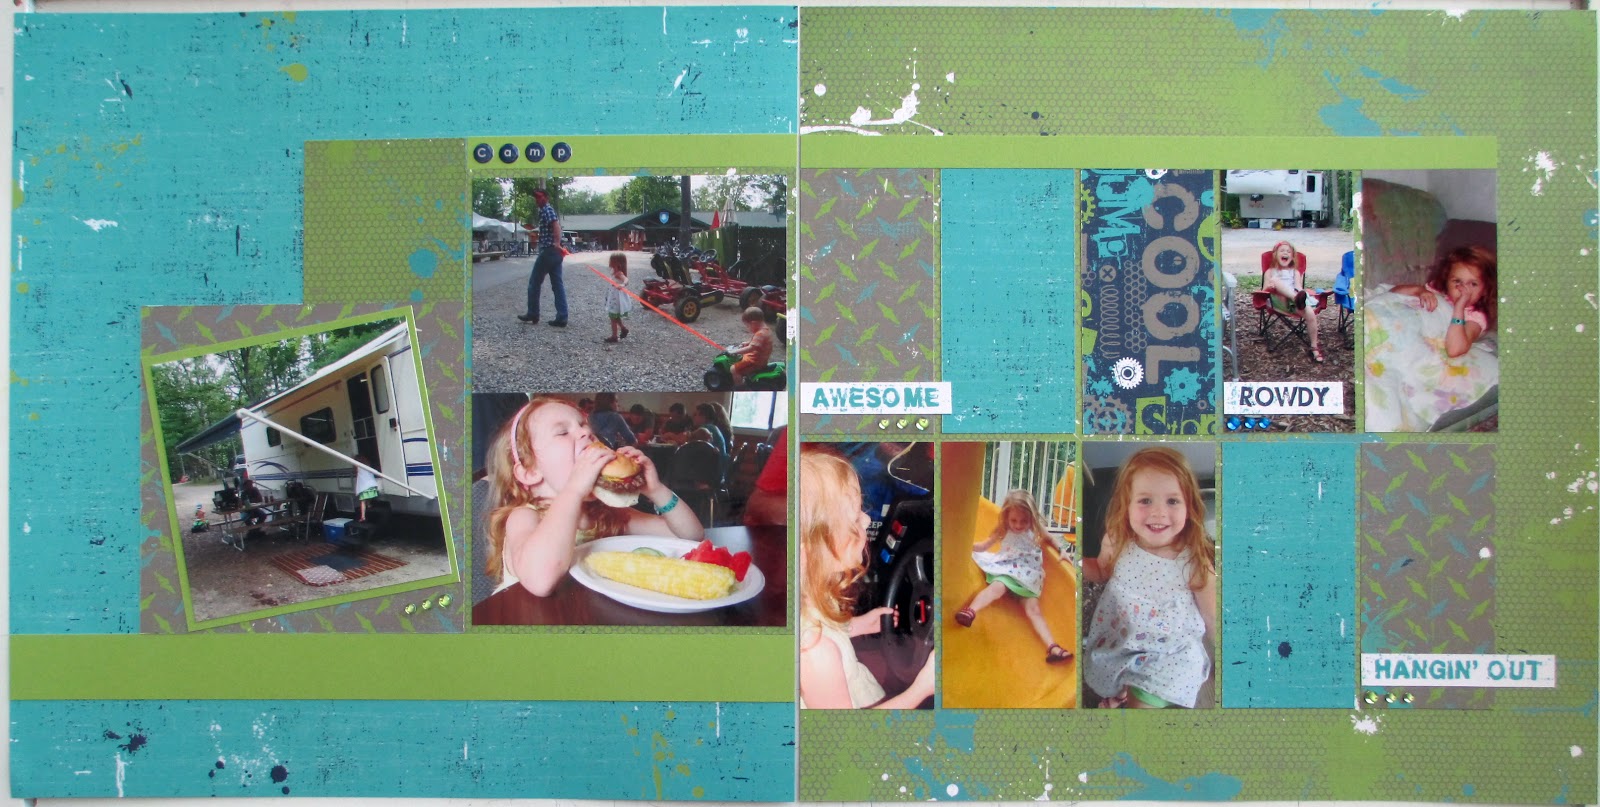
This is a 2nd Camping themed scrapbook layout I have made with this kit. Camping did not originally come to mind when I saw the kit, but I am both surprised and loving how the pictures pointed out that they belonged with it.


The pattern that I used on these pages is from the "Make It From Your Heart" Vol 1 book, page 34. I changed it slightly by making the photo spaces larger (taller). I am very happy with how it came out.  The paper sections allow for texture, movement, and detail. The photo spaces are large enough to tell a story, but also motivate me to edit my photos and seek out the most important elements.


I love the sentiments on the zip strips and how fast and easy they are to add to a page! I lined them up with the edges of my patterned paper and then let them hang off the other side. I accented them with the blue and green epoxy bubbles.

Thanks for checking in to peak at what I have been working on!

HeatherJane

Later Sk8R Layout #3

I have had so much fun working with the Later Sk8R workshop on the go kit from Close To My Heart!  Here is my third layout! This layout was dreamt up by two of my friends and myself. We were inspired by the Magic How To Book pattern called "On With The Show" (page 62).


We used the Artiste Cricut Cartridge to cut a large gear shape to use as our circular accent. (Mine was set to 11" and I cut it into quarters).


I am in LOVE with the "Tiny Type Epoxy Alphabet" adhesive letters (only $5.95!). It is so easy to add a subtitle that gives a page added detail and a finished polished look!


I also like the way that the stars and gears from the accessory packet pop. They are a good thickness to add dimension, shadow, and depth- but not so thick that they will warp your pages and make your book bulge. I prefer low profile accents myself and these pass my test.

I can't wait to get a few photos from my Son's classroom teacher and add them to this layout! I will have to check back when I do that and provide an updated photo for you!

Hope you had fun checking in to see what I have been working on! Go forth and "Play Hard!"

HeatherJane

Monday, February 11, 2013

Later Sk8R Scrap Layout #1

"Later Sk8R" Layout #1- Altered from "Mystify" pattern in Magic Book
I could not wait to get this new paper pack from Close To My Heart out on my craft space! "Later Sk8R" features plaid pattern and Lagoon teal color! I knew right away it would be perfect to scrapbook my son's first day of Preschool! For my first layout that I created with the Workshop On The Go Kit, I used the sketch called "Mystify" from the Magic Book. (I made some measurement changes to fit my photos in).


My son was so distracted by his excitement for preschool that he forgot to ham it up and actual stood still for this photo!


I used the diamond plate texture stamp from the kit to create a grey on grey backdrop for where my title is placed.


I used my NEW Artiste Cricut Cartridge to create my title letters in Outdoor Denim Cardstock. I added the spoxy letters for sub-titles under the headline.


This "Hello" stamp is from one of the 3 stamp sets that came with my Artiste Cartridge. I felt it was a good fit for a first day of school and meeting new people.

List of Supplies:

  • Later Sk8R Workshop On The Go Kit
  • Cricut Artiste Cartridge for text and hello stamp base
  • Grey Ink
  • Tiny Epoxy Alphabet
Hope you have had fun seeing what I made with my Later Sk8R kit. Stay tuned for more. This is one of 4 layouts we will create at the March 9th Scrap Class! Contact me for more information if you can join us!

HeatherJane